In recent years tipi tents have become very popular. The single-wall construction makes them lighter than double-wall tents, and many tipis also have a stove jack so you can add a wood stove for warmth in cold weather. Because of their increased popularity, manufacturers specializing in tipi tents have arisen and others have added this style of tent to their product offerings. You may be familiar with tipi tents from companies like Seek Outside (Cimarron, Redcliff, 6, 8, and 12-person tipis), Argali (Rincon and Absaroka), Hyperlite (Mountain Ultimate), Peax (Solitude), and others.
Tipi tents offer several advantages over traditional tents with built-in floors. However, one of the disadvantages of tipi tents is that they can be a little more difficult to set up. With a few pointers and a little practice, you can easily learn to set up your tipi tent so that it is secure and can stand up to wind and weather.
There are five main steps to set up a tipi tent:
- Spread out the tent
- Stake out the corners
- Put in the center pole
- Stake out the door(s)
- Stake out the guy lines
The exact setup procedures will vary a little bit from tipi to tipi but the overall method is the same. Here, I’m demonstrating the setup with the Peax Solitude 4 tipi. Whatever tipi you have, these steps will help you get a consistent pitch every time!
Check out the video at the end for a full demonstration!
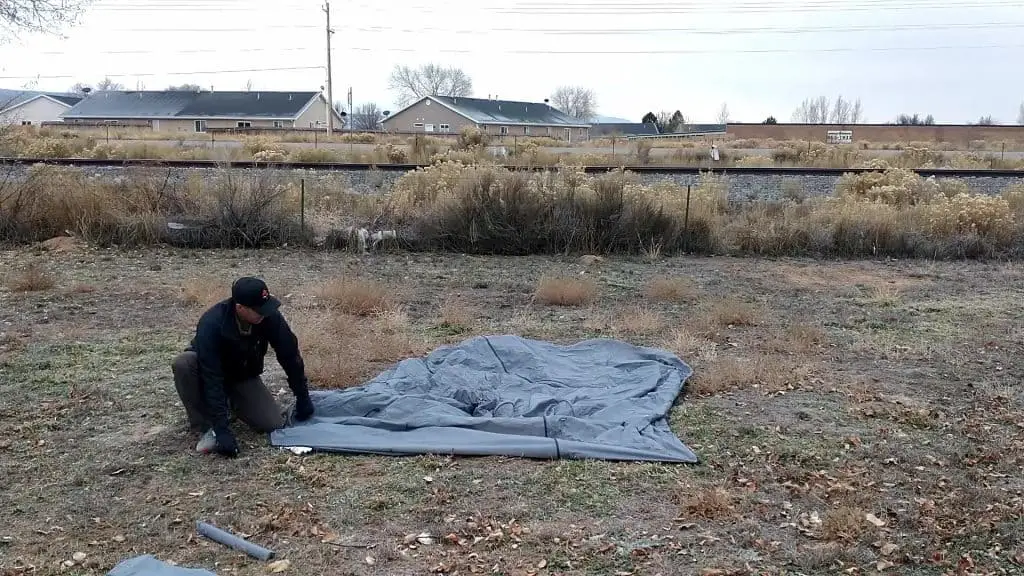
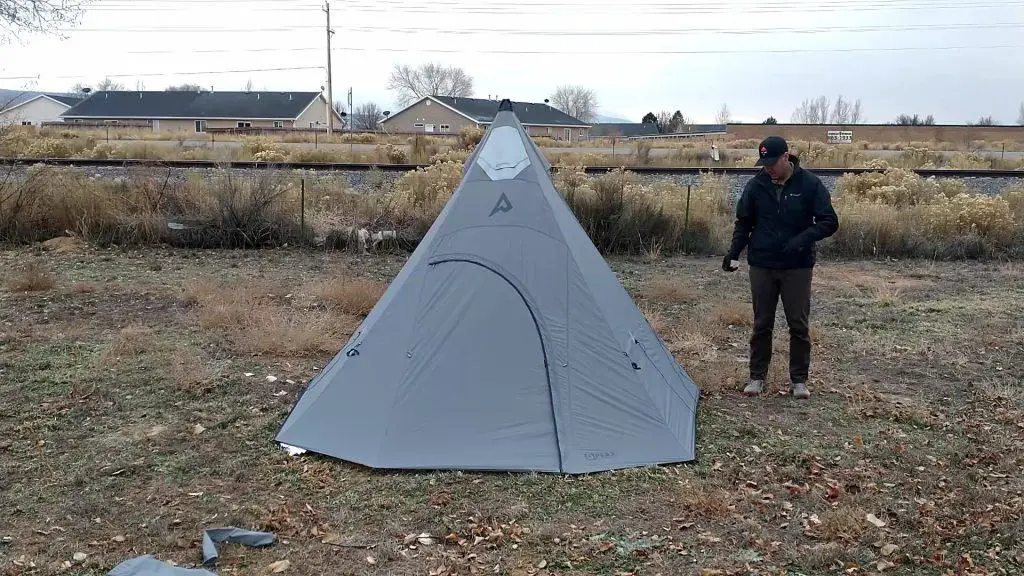
1. Spread out the tent
To start, spread out the tent to get an idea of its footprint. You don’t need to have it spread perfectly (that’s actually difficult to do without staking the tent out). You just want to get an idea of the space your tent will take up so you can be sure to avoid any holes, hills, rocks, bushes, trees, or other obstacles that may get in the way of your pitch, or your sleep.
Orient your tipi in the direction you want it to face. Consider if the doors will open in the direction you’re expecting and that the stove jack is located where you would like it. Taking a little time to orient your tipi now will make the rest of the setup go more smoothly.
It’s much easier to take a little time to assess your pitch location before your tipi is up than to try to move your tipi after it’s pitched. This is also a good time to move any rocks, logs, brush, or other obstacles that may be in the way.

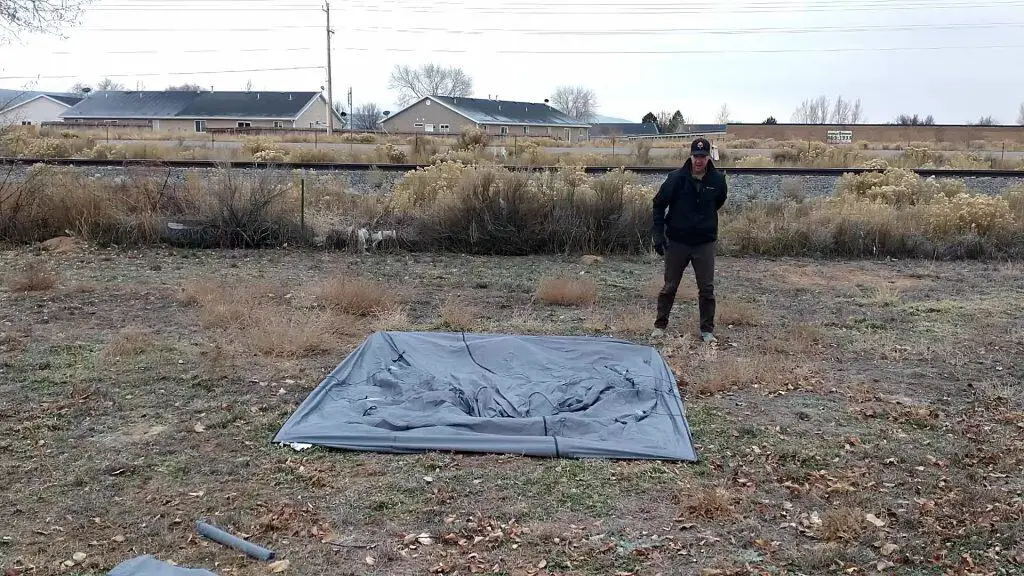
2. Stake out the 4 corners
Once your tipi is oriented how you would like it, it’s time to stake out the corners. Most tipis will have a rectangular shape (though some do not) and will pitch best by staking out the four corners first.
I like to start by staking out the front corners. This ensures my door will face in the proper direction and make it so I can also check my stove jack location before continuing. This also makes it easy to line stake out the other corners square with the front.
Pull the tent taut between the stakes, but not too tight. You don’t want to put unnecessary tension on the tipi material and compromise its durability.
Next, I’ll move the back corners, doing my best to square the corners with the front of the tent.
While staking out the corners I also adjust the cordage length (this may not be possible on all tipi models) on my stake-out points. In some cases (cold or wet weather, lots of bugs), I stake the tent as close to the ground as possible. In other situations, like when it’s hot and dry, I’ll leave a large gap around the bottom of the tipi.
As you go, and before moving on, assess the tipi’s location and footprint. If you want to make adjustments, it will be easier to do so before the pole is erected and the guy lines are staked.
Note: You should always follow the directions of your tent manufacturer. Some tents will have specific pitch instructions. Additionally, circular tipis will pitch a little differently than square or rectangular tipis.

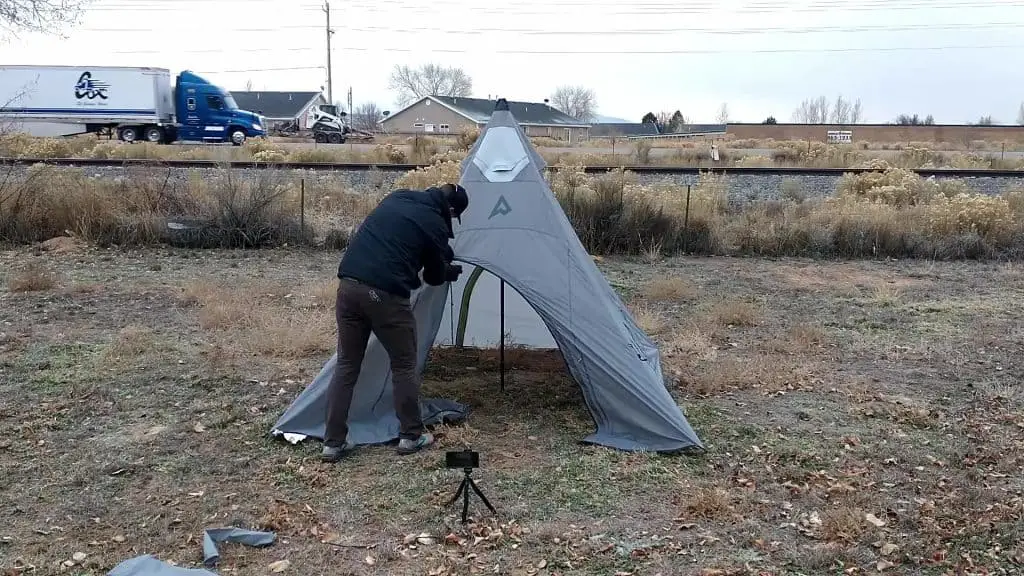
3. Put in the center pole
After the corners are staked it’s time to put in the tipi’s center pole. You’ll need to have a center pole for your tipi. Many tipi’s come with a center pole included. Others have adapters so you can link trekking poles to create a pole. You can also make your own pole from a tree branch or other sturdy, straight material. Once you have acquired a pole here’s how to put it in.
- Set the center pole to an appropriate height (check the manufacturer’s recommendations)
- Open a door
- Find the top point of the tipi (most will have a reinforced pocket for the center pole)
- Insert the center pole into the pocket
- Push up and place the bottom of the pole in the center of the tipi’s footprint
- Adjust the center pole height (if required)
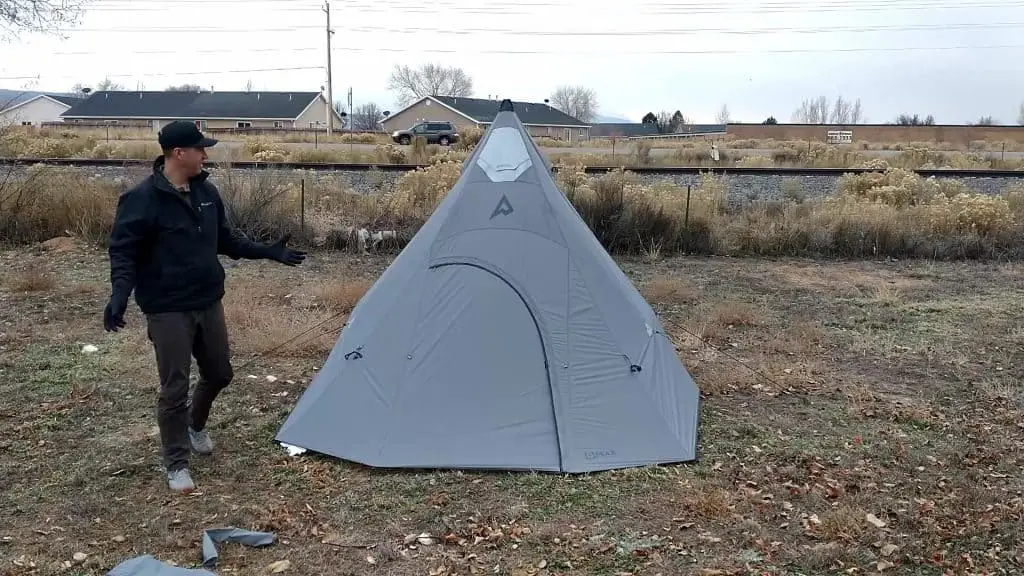
Now you have the basic pitch and just need to do some final fastening for stability.
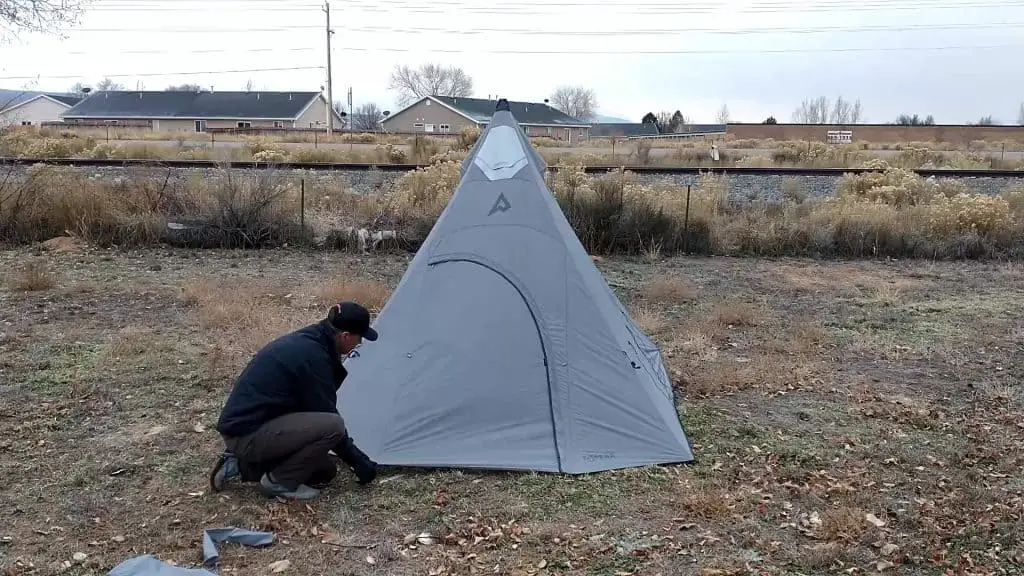
4. Stake out the door(s)
Once the tipi is pitched, stake out the doors. On the Peax Solitude Tipi, stake out the doors putting tension on the nearest corner stake and pulling straight out from the center of the tent. This way you won’t put extra tension on the zipper making the door easier to open and improving the durability of the zipper seam.
For other tipi models, especially those with vertical zip doors, the process for staking out the doors will be a little bit different. Some tipis may not require door stakes (though most do).
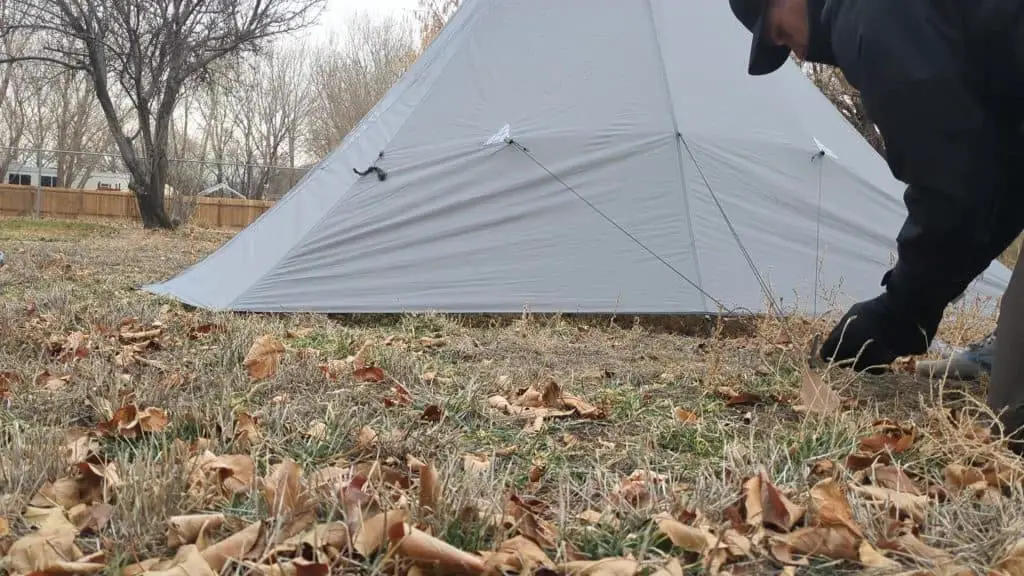
5. Stake out the sides and the guy outs
Finally, stake out any remaining stake-out points and stake down the guy out points. Though nearly all tipis will have these additional stake-out and guy-out points, it is not always necessary to use all of them. These extra fastening points will greatly increase the stability of your shelter. If you’re expecting inclement weather it’s a good idea to fasten down the shelter as tightly and completely as possible.
Using all the stake-out and guy-out points to pull your tipi taut also increases the livable space inside. So you might want to use them if you have a crowd inside your shelter.
Enjoy your night!
All that’s left to do now is enjoy the night in your tipi shelter! It’s a good idea to pitch your tipi a few times before you take it in the field (I also recommend sleeping in it) so that you don’t have any unexpected complications when it really matters.
